

Add site photos to a job
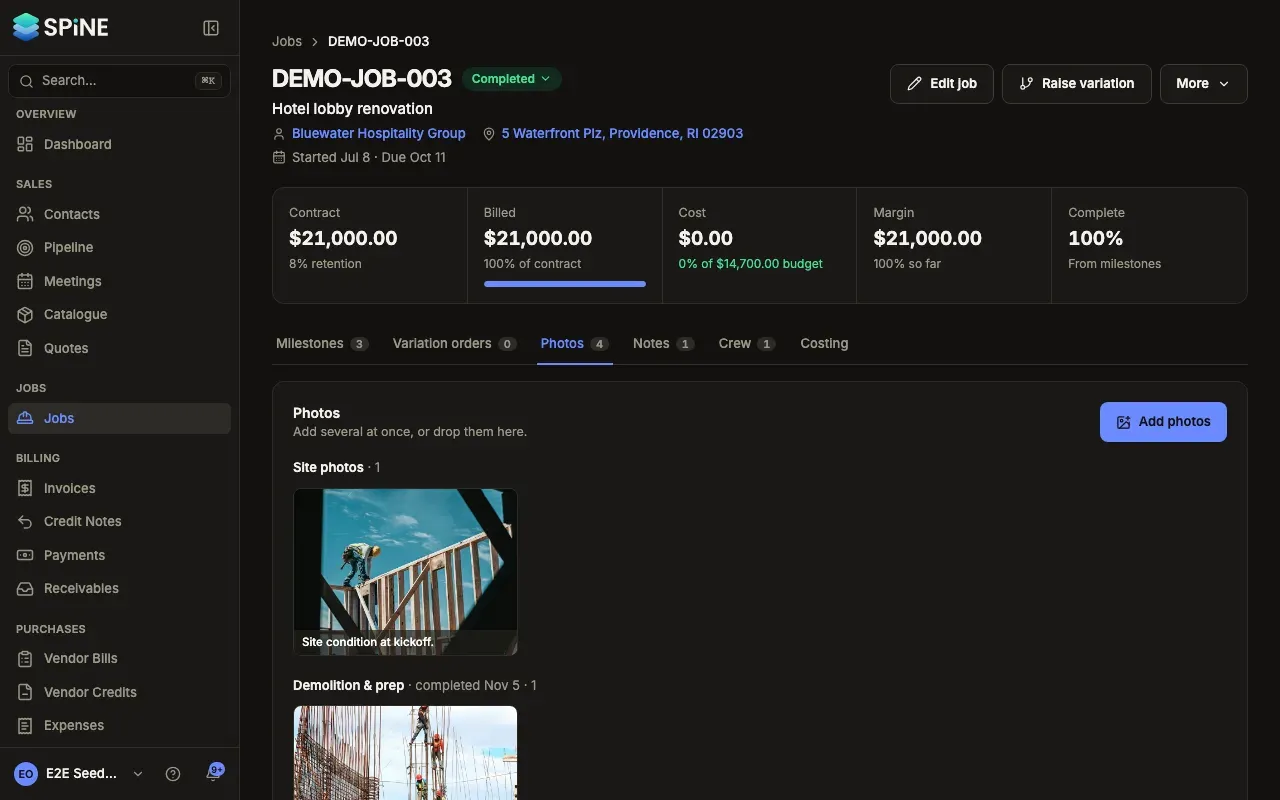
Site photos keep a record of progress and the condition of the site. Photos added on the web, taken in the field app, or attached when a milestone is completed all collect on the job’s Photos tab.
- Open the job — Go to Jobs, open the job and choose the Photos tab. You can also choose More › Add photos at the top of the job.
- Add photos — Press Add photos and choose one or more images, or drop them onto the tab. Use JPEG, PNG, HEIC or WebP files, up to 10 MB each.
- Wait for the uploads — Each photo shows its own progress. If one fails, it says why, and the others still upload.

A file over 10 MB is refused with “This file is over 10 MB. Upload a smaller copy, or split the PDF.” Make the photo smaller and add it again.
How photos are grouped
Section titled “How photos are grouped”Photos you add here go under Site photos. Photos attached when a milestone was completed go under that milestone’s name, with when it was completed (for example “Site preparation · completed 7 Aug”). With no photos at all, the tab says “No photos yet. Photos taken when a milestone is completed show here too.”
Look through photos
Section titled “Look through photos”- Open a photo — Click any photo. It opens full size with its caption, who added it and when.
- Move between photos — Use Previous photo and Next photo, or the ← and → keys.
- Save the original — Press Download.
- Close it — Press Close, or Esc.
From the phone
Section titled “From the phone”Crew take photos in the field app’s camera and tag them to a job, and optionally a milestone. Without signal, the photos are saved on the phone and sent when it’s back online. Photos are kept in the app, not in the phone’s camera roll, and location data is removed from them.
Photos are never public: Spine checks that the person may see the job each time a photo is opened or downloaded.
Last updated with Spine 1.0.0-beta.2