

Submit an expense
Submit an expense whenever you spend the business’s money, or your own on its behalf — fuel, materials, a site meal. Add the receipt, and it waits for approval. A submitted expense posts nothing to your books until an Owner or approver approves it.
-
Open the form — Go to Expenses and press Submit expense.
-
Add the receipt — Drop the receipt photo or PDF on the form, or press Add files. The first file is the receipt and shows a preview, with Replace and Remove. You can add more files at once; they’re attached to the expense when you save.
-
Choose the category — Pick a Category. Each one shows what it’s for under its name, and typing searches both. A category’s usual tax rate fills in for you.
-
Enter the details — Choose a Job if it’s for one (it flows into job costing once approved; the field shows while the Jobs & field module is on). Set the Date and the Amount. Choose the Tax rate: the Tax amount is worked out as included in the amount, not added on top. You can still change it.
-
Say who paid — Under Paid by, choose Company or Employee (reimbursable). Owners and Staff also choose Paid from, the account the money left.
-
Describe it — Say what it was for in Description. Tick Billable to a customer if the job’s customer should pay for it.
-
Submit — Press Submit expense, or Submit and add another to start a fresh form with the same date, currency, paid-by and job.
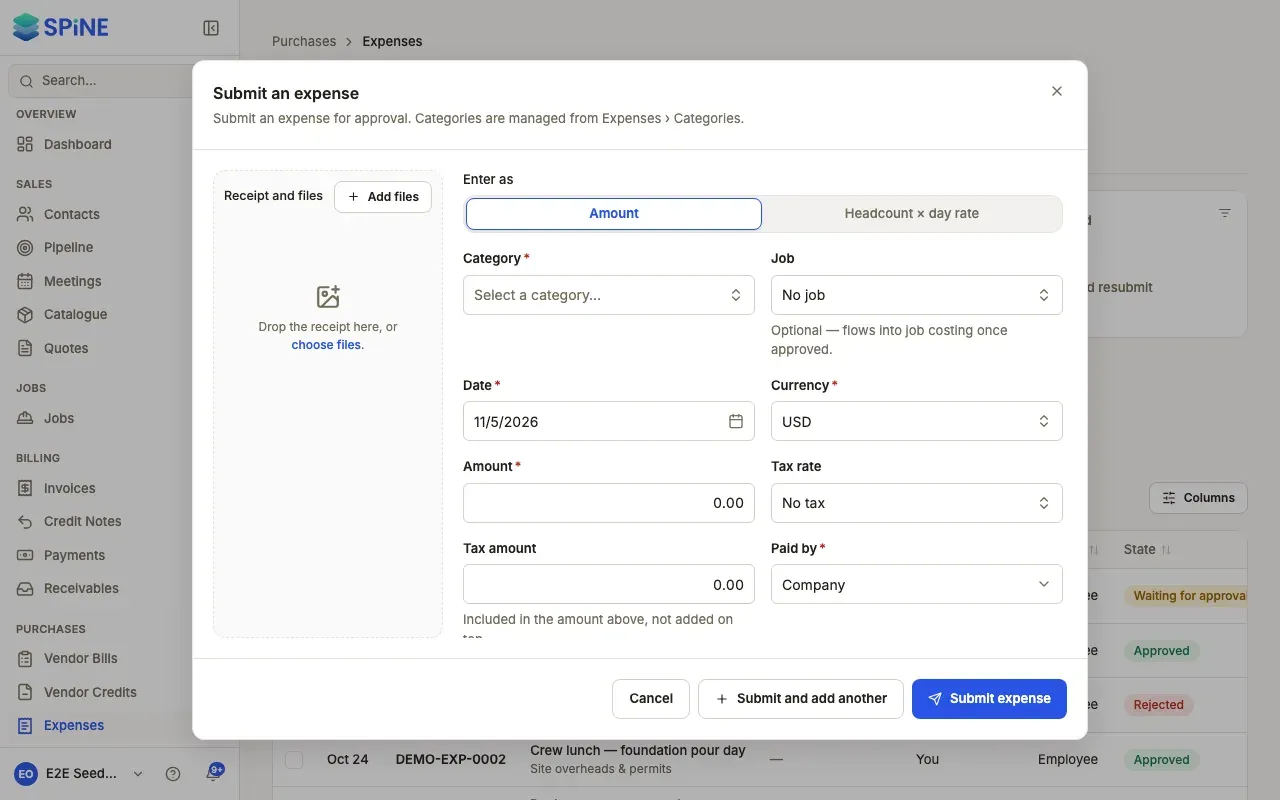
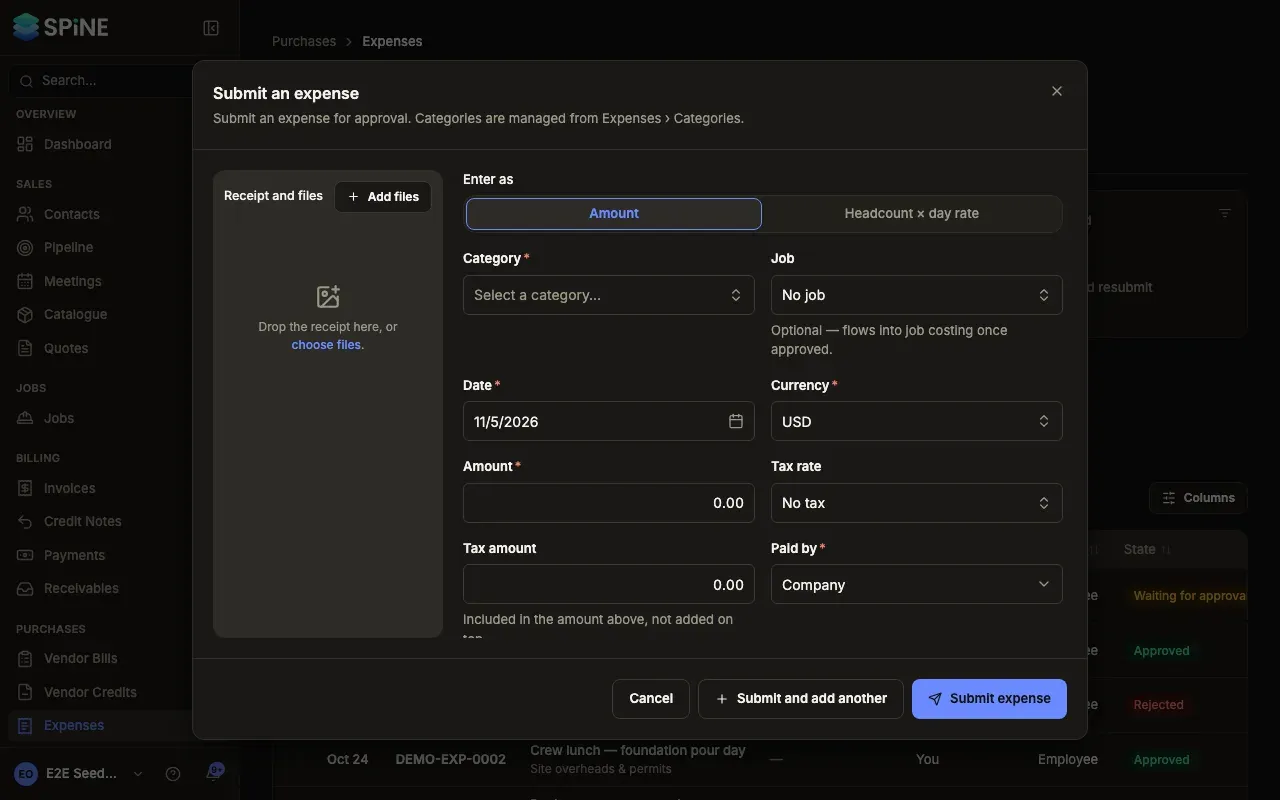
The toast says “Expense submitted”, and it’s listed as Waiting for approval. When it’s approved, you’re told in Spine and by email.
Checks before you submit
Section titled “Checks before you submit”- No category: “Select a category before saving.”
- A zero amount: “Enter an amount greater than zero.”
- Receipts can be up to 10 MB. If one doesn’t upload, you see “Could not upload the receipt.”
- If you already submitted the same amount on the same day, a warning names it with a link. Check it isn’t the same receipt; you can still submit.
Change or delete it while it waits
Section titled “Change or delete it while it waits”Open the expense and press Edit (on the page, or under More), change it, and press Save changes — it stays waiting for approval. To withdraw it, open More, choose Delete expense and confirm “Delete this expense?”. It’s removed for good.
To enter a day’s labour as workers × day rate instead, see Enter a day of site labour. To fill the form in from the receipt, see Fill in a bill or expense with AI.
Last updated with Spine 1.0.0-beta.2